
RPR Installation Instructions
With just a pair of allen wrenches, the ABR and Recoil Plate are easily installed in minutes. Once the ABR is installed, you will have complete control of elevation adjustments while shooting.
Adjustable Bag Rider Instructions
Tools & Precautions
Installation Instructions –included with purchase
BEFORE PROCEEDING:
MAKE SURE THE RIFLE IS NOT LOADED
REMOVE THE MAGAZINE
REMOVE THE BOLT
Required tools:
9/64 Allen wrench (0.140)
5/32 Allen wrench (0.156)
Maintenance :
When the ABR is in the closed position apply a small amount of gun oil or Wilson Combat Grease to threads if they become dry.
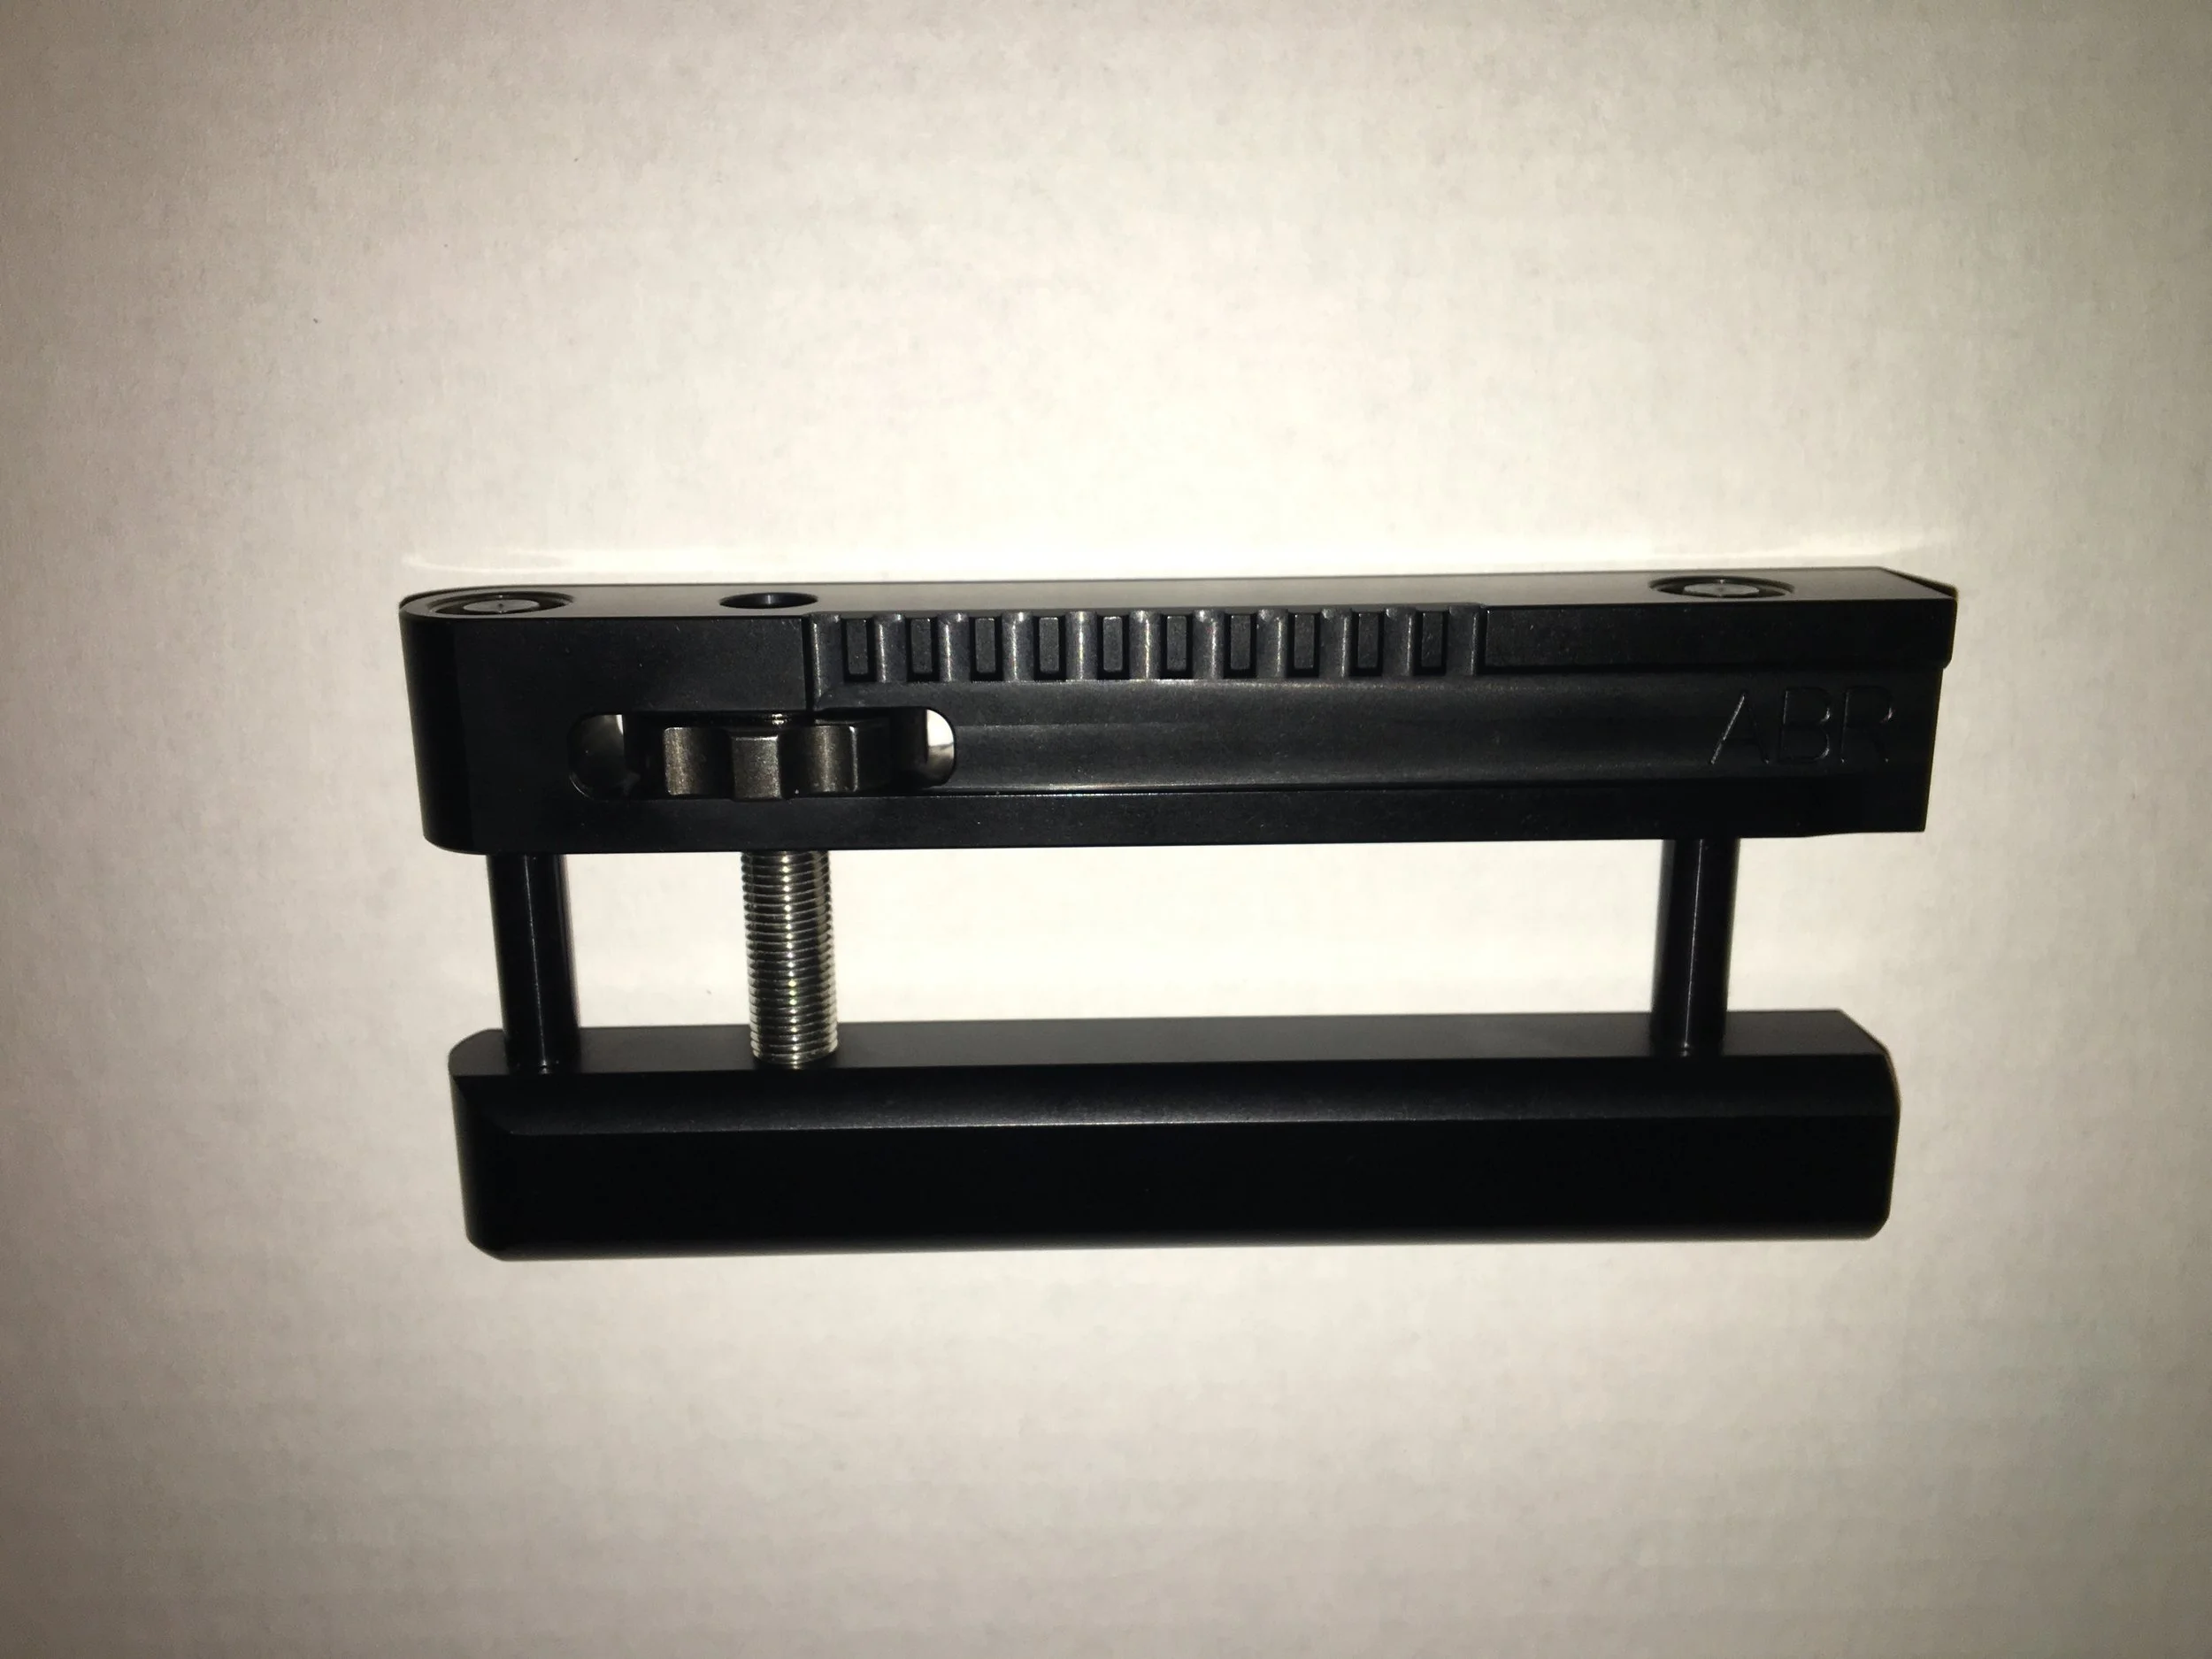
ABR ready for installation and set at maximum travel.
Step-by-Step Instructions
Remove recoil pad screws (9/64 Allen wrench)
Remove lower recoil plate screw (5/32 Allen wrench)
Loosen slightly the upper recoil plate screw – eases alignment later
Open the lower cam lever
Ensure the stock length lock plate is lifted by the internal spring
Unscrew the nut on the cam lever one full turn to open the clamping range
Put a small pencil mark on the nut to ensure one full turn is completed
Remove lower picatinny rail by sliding it towards the pistol grip
It will be necessary to fold the rear stock to 90 degrees
Slide the ABR into the clamp and up to the recoil plate
Tighten the lower cam lever (adjust nut if needed to ensure a firm clamp)
Install the lower bolt through the recoil plated into the back of the ABR and tighten.
Tighten the upper recoil plate screw.
Reinstall the recoil pad.
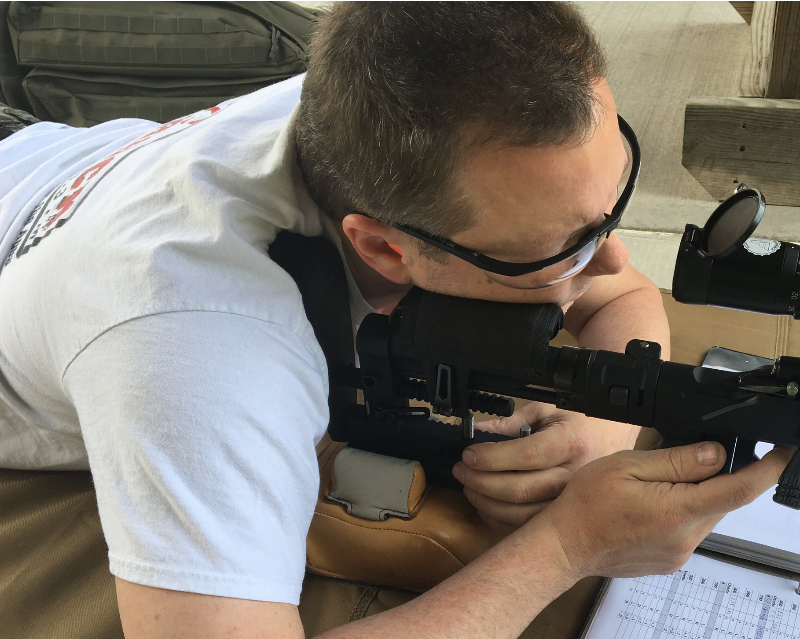
Setting up at the range
To start, you should have the ABR lower rider raised (see lower photo). Now adjust the front rest or bipod so the target is slightly below your view through the scope. As you turn the thumb wheel with your non-trigger hand, the reticle will lower. Put the ABR in the end of the bag (see lower photo). The bag will settle for the first couple of shots - simply turn the wheel for correction. It is important that your adjustment hand does not be contacted by the grip during recoil as it could throw off the shot. Placing your trigger hand thumb on the side of the grip (not behind the grip) will provide more room for your adjustment hand.
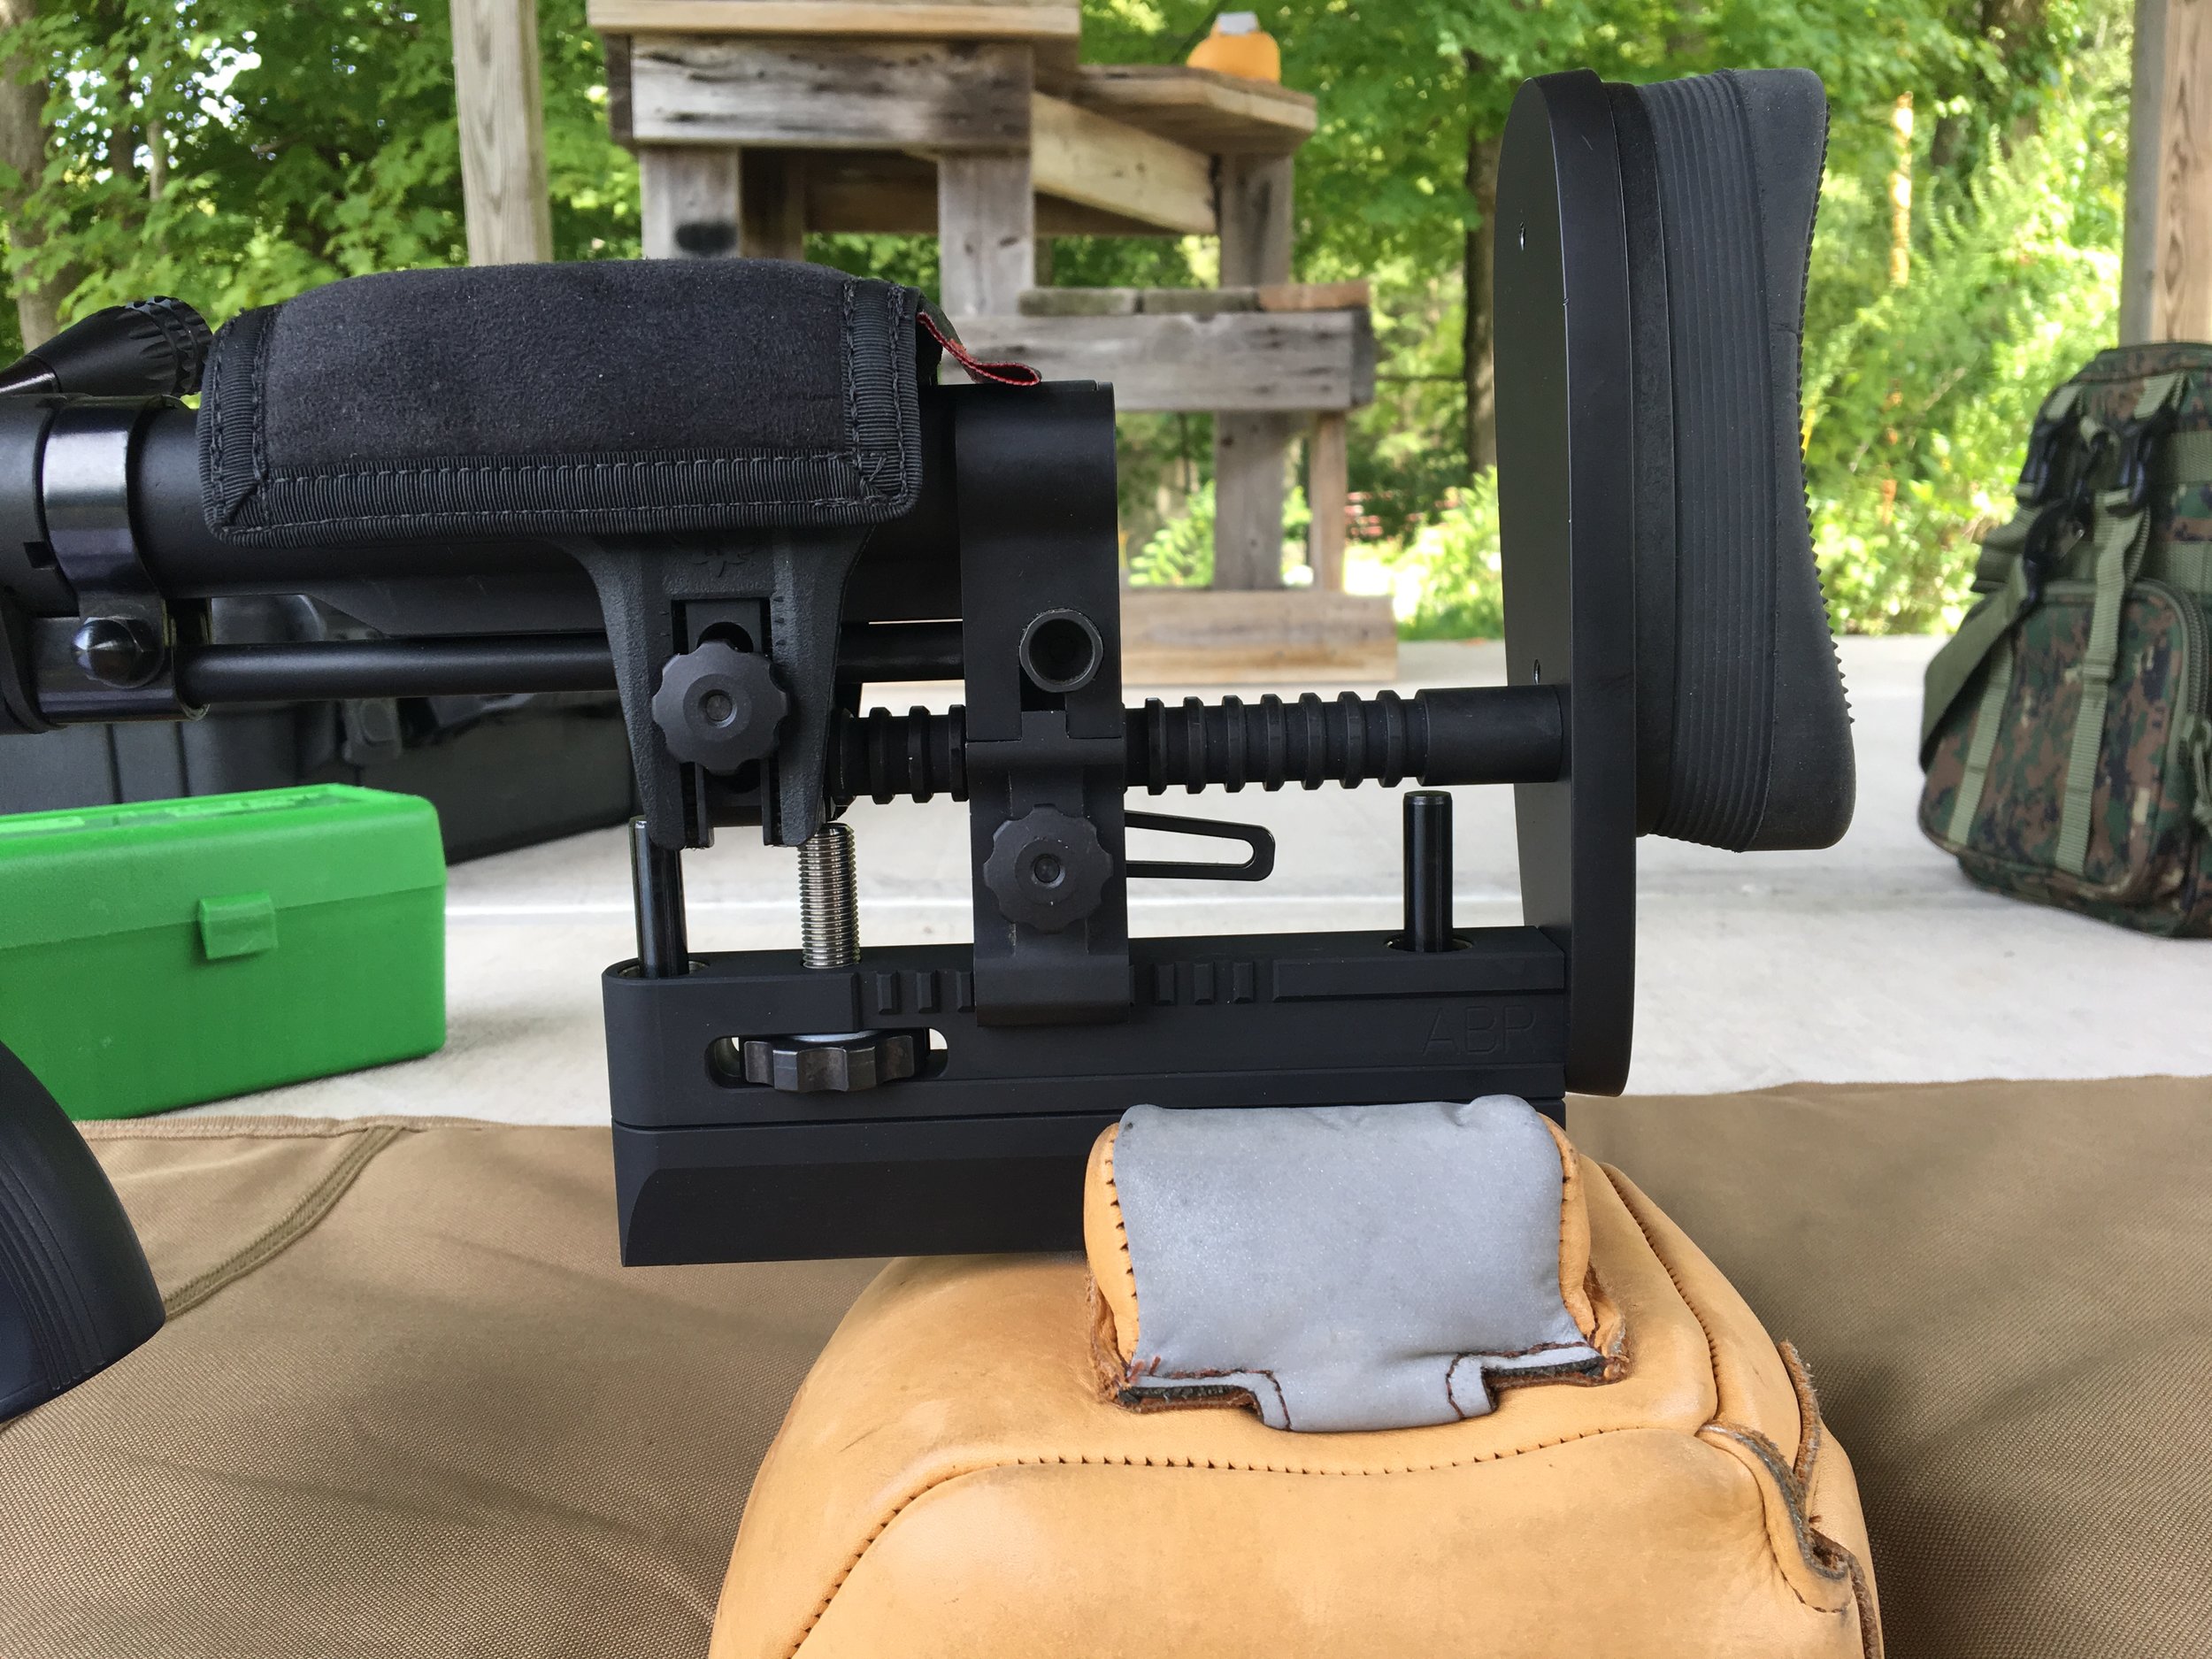
ABR Closed and positioned properly on rear bag when setting up.
Recoil Plate Instructions
BEFORE PROCEEDING:
* MAKE SURE THE RIFLE IS NOT LOADED *
* REMOVE THE MAGAZINE *
* REMOVE THE BOLT *
Required tools:
9/64 Allen wrench (0.140)
5/32 Allen wrench (0.156)
1/8 Allen wrench (0.125)
Ruger Precision Rifle - recoil plate for Limbsaver Trap Skeet recoil pad
Remove recoil pad screws (9/64 Allen wrench)
Remove upper and lower recoil plate screws (5/32 Allen wrench)
Install lower bolt through the new recoil plate – do not tighten.
Install the upper recoil plate screw and tighten.
Tighten the lower recoil plate screw.
Insert our supplied bolts into the mounting holes in the Trap / Skeet recoil pad #10534.
Reinstall the recoil pad (1/8 Allen wrench)